Optics: Define Optical System Scan Types
Panel Tab Options:
In each panel, tabs are visible at the top of the window to enable the user to move to another panel, to perform specific experiment subtasks.
General: A panel whose primary purpose is to specify the experiment run ID (a description string), select a parent project name, and possibly change data source (database or local disk) or database investigator name.
Lab/Rotor: A panel whose primary purpose is to select the Laboratory, Rotor, and Calibration values for the experiment.
Speeds: A panel whose primary primary purpose is to specify one or more speed steps. For each step, speeds and durations may be given.
Cells: A panel whose primary purpose is to select the centerpieces (or counterbalance) for the cells, along with a quartz/sapphire windows selection.
Solutions: A panel whose primary purpose is to specify the solution to be used in each cell/channel.
Optics: A panel whose primary purpose is to select the optical system used to scan.
Range: A panel whose primary purpose is to select the wavelength ranges and cell radius measured.
Submit: A panel whose primary purpose is save and upload the protocol to the Optima/Instrument and database.
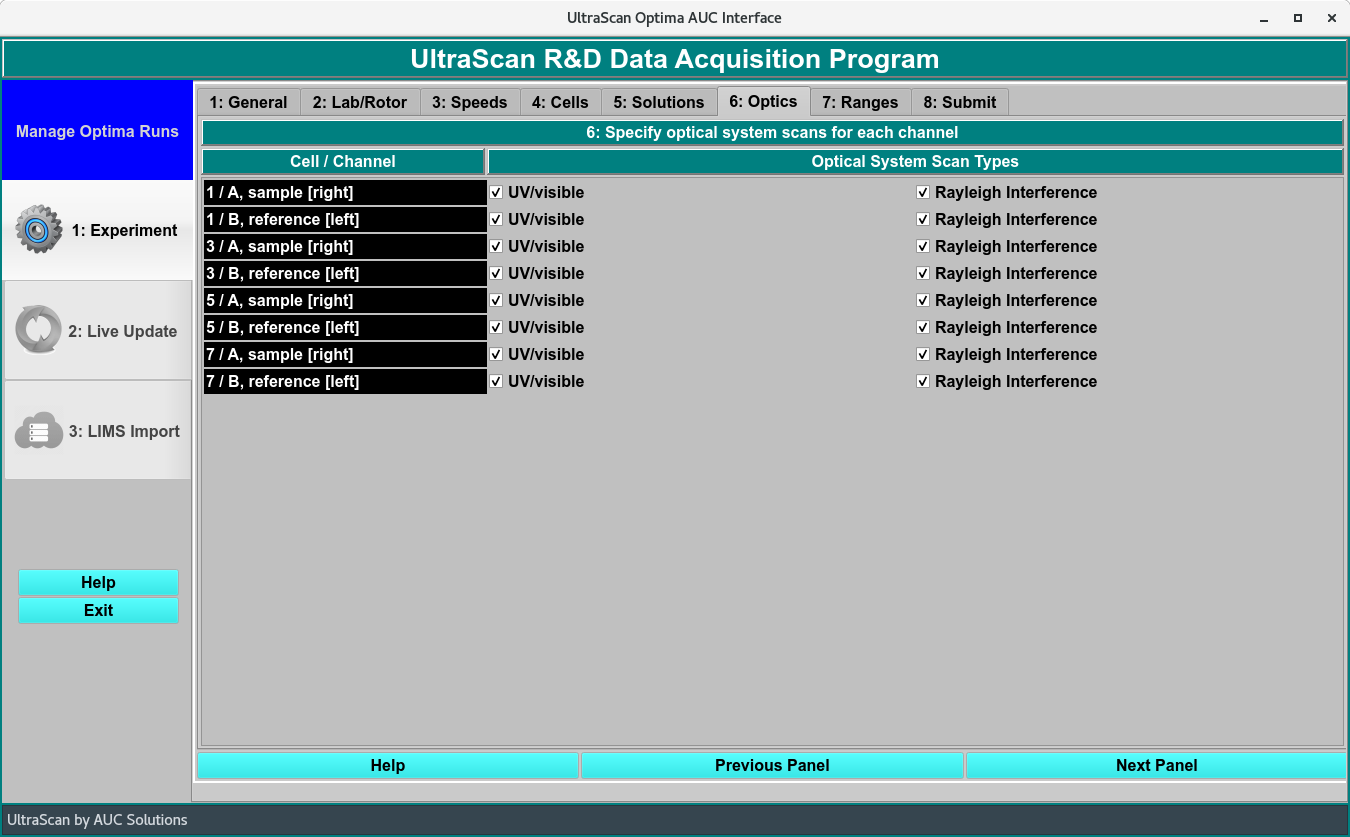
Optics Panel:
Define which optical system(s) will be used to scan each cell. The ‘Optical System Scan Type’ options are UV/visible and Rayleigh Interference.
Note
The instrument collects scans on a cell-by-cell basis, so the selections for a cell apply to both of its channels.
Select Optical System Panel